Demystifying Siri, Part 7: Intents UI
At the end of Part 6 we finally reached our goal - our iOS device is finally able to solve a Countdown numbers game using voice alone. To round things off, let’s add a nice bit of UI that displays our calculation in NumberRace branding.
In Part 5 we created an Intents extension. At the same time we also created an Intents UI extension. Let’s open the project group up and take a look at the files therein.
Our folder structure looks pretty much like any standard bare-bones app - we have an info.plist, a default storyboard, an entitlements file and a view controller.
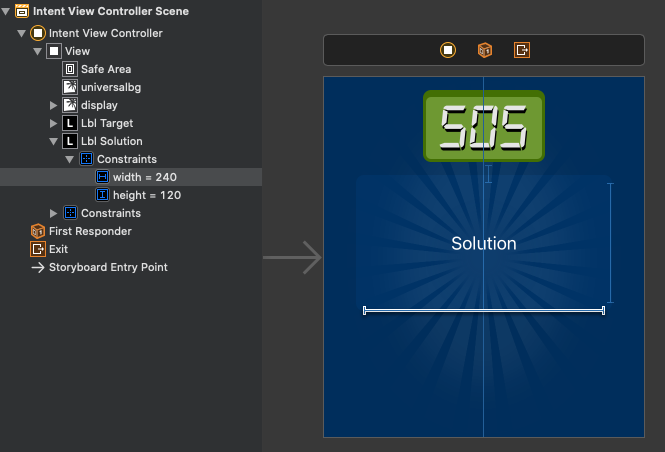
Creating a view is pretty much the same as for any other app. We can join text labels and other UI components to IBOutlets in our view controller. We’ll also add in some image assets from the main app - that means ensuring that we check the UI extension in the Target Membership list for the relevant NumberRace asset catalogs.
The final thing we need is the code.
We have two UILabels in our view - a target and a solution - so lets open up IntentViewController.swift and add them to our class:
class IntentViewController: UIViewController, INUIHostedViewControlling {
    @IBOutlet var lblTarget: UILabel!
    @IBOutlet var lblSolution: UILabel!
...
}
Setting the size
Next, we want our set our view to be a particular height, otherwise our UI extension will take up much of the screen. Open up IntentViewController.swift and add the following function to the class:
var desiredSize: CGSize {
    return CGSize.init(width: self.extensionContext!.hostedViewMaximumAllowedSize.width, height: 320)
}
This will display our view with a height of 320 pixels - just enough for us to show the target number and our solution. Finally, lets add the code that does the work:
func configureView(for parameters: Set<INParameter>, of interaction: INInteraction, interactiveBehavior: INUIInteractiveBehavior, context: INUIHostedViewContext, completion: @escaping (Bool, Set<INParameter>, CGSize) -> Void) {
guard let intent = interaction.intent as? SolveGameIntent else {
completion(false, Set(), .zero)
return
}
if interaction.intentHandlingStatus == .success {
if let response = interaction.intentResponse as? SolveGameIntentResponse {
lblTarget.text = String(Int(truncating: intent.target ?? 0))
var spokenResult = response.spokenResult?.replacingOccurrences(of: ", ", with: "\n") ?? ""
spokenResult = spokenResult.replacingOccurrences(of: "divided by", with: "÷")
spokenResult = spokenResult.replacingOccurrences(of: "times", with: "×")
spokenResult = spokenResult.replacingOccurrences(of: "plus", with: "+")
spokenResult = spokenResult.replacingOccurrences(of: "minus", with: "−")
lblSolution.text = spokenResult.replacingOccurrences(of: "equals", with: "=")
completion(true, parameters, desiredSize)
}
}
completion(false, parameters, .zero)
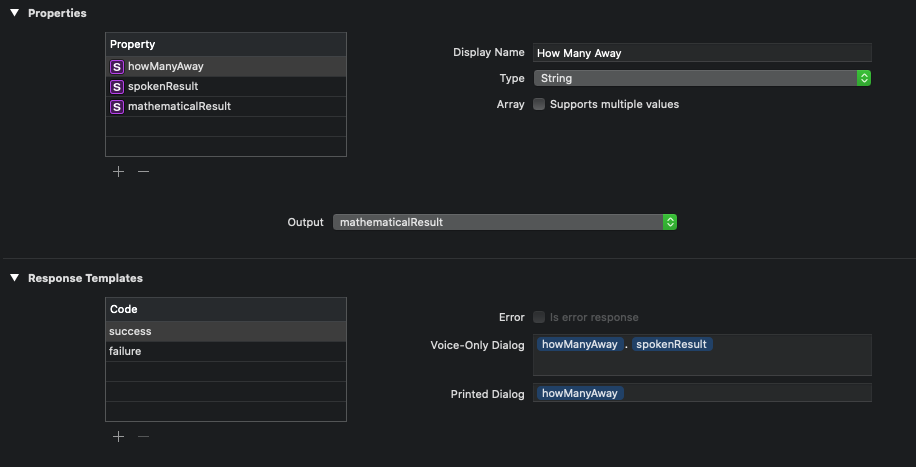
}You’ll notice that I’ve written some code to convert the spoken result into mathematical notation. My original idea was to send a spoken result to Siri and a version with mathematical notation to the UI. I tried to add a mathematicalResult to my response in Intents.intentdefinition, but I can’t seem to use it unless it’s also spoken by Siri.
Apple’s documentation suggests adding a NSUserActivity with additional information but Apple’s documentation is a little scant here and I have a workaround that I’m reasonably comfortable with.
And we’re done! Not only do we have a spoken result, but a visual one too.
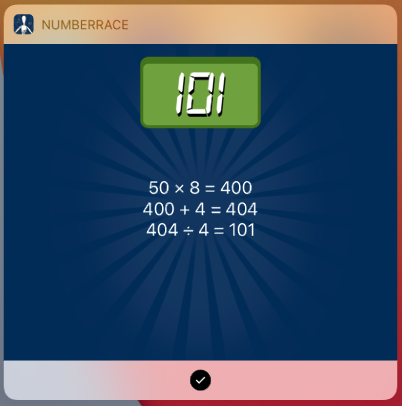
Clicking anywhere in the UI will take us to the solver in the NumberRace app. You’ll recall that in Part 3 we implemented the ability to restore a user activity, so that our Solver opened automatically in our app in response to a shortcut. Clicking on the UI now triggers the same process and we now can see our solution in the app itself.
And that’s it! There’s plenty more to explore in SiriKit but I think I’ve reached the limit of what I wanted to achieve. There were some rough edges but we’ve worked around them. There’s been some exploration and some head-scratching - hope you found it all useful.