Electronic Shelf Labels, Part 1: The retail technology for everyone
I’m always on the lookout for new and interesting technology, so the other day my eyes were inevitably drawn to the electronic price tags in my local Spar. These neat devices display product and price information about the items on the shelf above, replacing the old paper-based tag system.

I can immediately understand why stores would want to implement this kind of technology. Prices can be updated by a central server at the click of a mouse, saving the cost of staff having to wander around the store with printed labels and scissors. The labels themselves seem to include an e-ink display, which only consume power when the display is updated, so running costs are minimal. All in all, a really handy piece of kit to have. And I knew I wanted one of my own to muck about with, maybe even to show useful content such as the next waste collection days, or train times, or a weather forecast.
And that began a whole mountain of research.
Types of Electronic Shelf Labels
The Electronic Shelf Labels (ESLs) you see in shops tend to require Access Points (APs) to deliver updates wirelessly using some sort of radio or infrared technology. ZigBee? 802.15.4? Don’t make me go down that rabbit hole, I’m seriously not interested. Thankfully more detailed sites on hacking ESLs exist for that sort of detail.
If you’re lucky, your local store might be able to provide you with broken ones. Others on the internet have managed to get hold of them in this way and started tinkering with them, even flashing new firmware onto them.
For me, using this type of device meant the project was already becoming overcomplicated at this early stage. I wasn’t fantastically keen on running an AP and tearing apart an ESL just to display the next bin day, especially when the council provides a PDF calendar of scheduled collections anyway. It all just seemed like too much of a faff for my time-poor schedule.
(Also - and I can’t believe I’m admitting this - I’m too cowardly to ask my local shop for broken ESLs.)
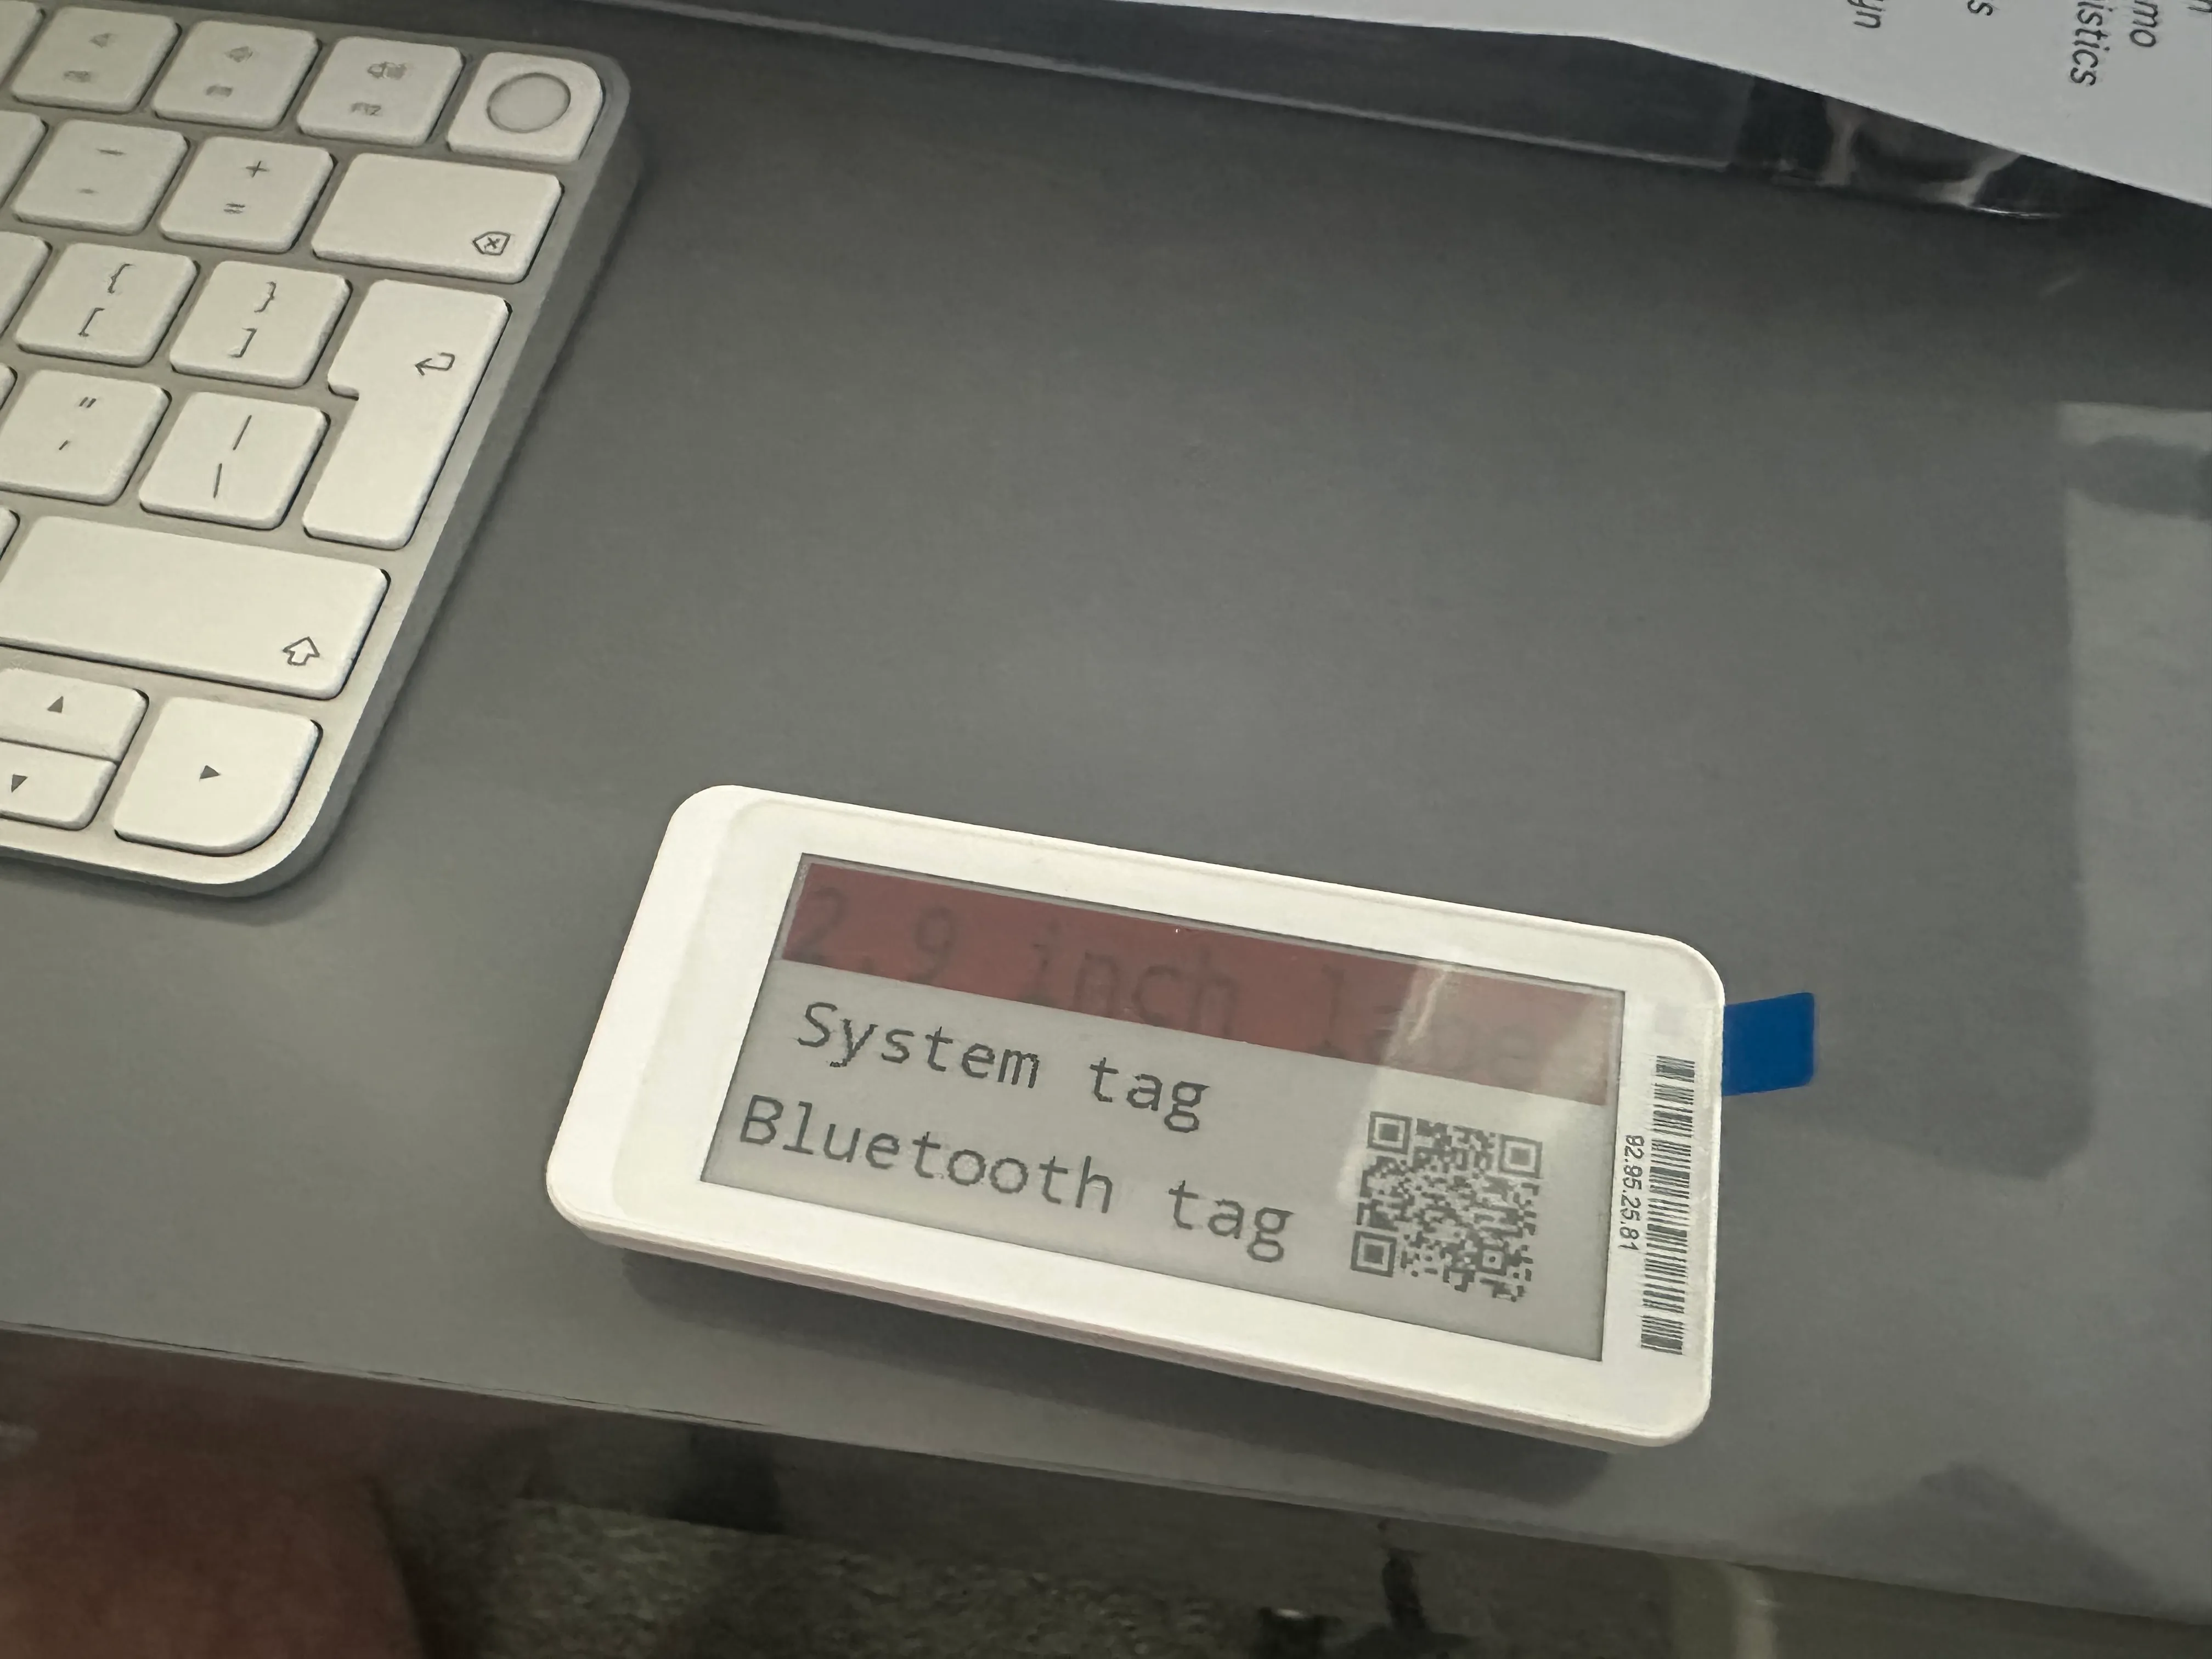
Instead I scoured AliExpress and eventually bought a 2.9” Black/White/Red ESL to get me going. The advantage of this model was that it differed from the radio-plus-AP type I’d been previously been researching. This particular ESL could be updated via Bluetooth alone, so I could ‘just’ write a script in something like Node.js or Python, and as long as I ran it on a Bluetooth-enabled device then we’re home free. The scope of the project then became significantly less hacky - it fitted the amount of time I was able to devote to it. I didn’t need to dig out my soldering iron, get into radio tech, or purchase any weird and wonderful circuit boards.
A week or so later, the package arrived. A thing of true beauty.
Up and running
The product listing on AliExpress included a link to the location of an .apk file - an Android app - which handles the
communication between an Android device and the ESL. I was immediately suspicious of the URL as it linked to an
IP address instead of a domain name. Furthermore, once downloaded and installed, an account needed to be created to make
use of the functionality. My spidey senses were tingling - why would you need to create an account to use functionality that
could, to all intents and purposes, be done entirely locally?
Nevertheless, one anonymous email account later, I installed the app and gave it the bare minimum of permissions, which didn’t work. Once I added location permissions, however, we were up and running.
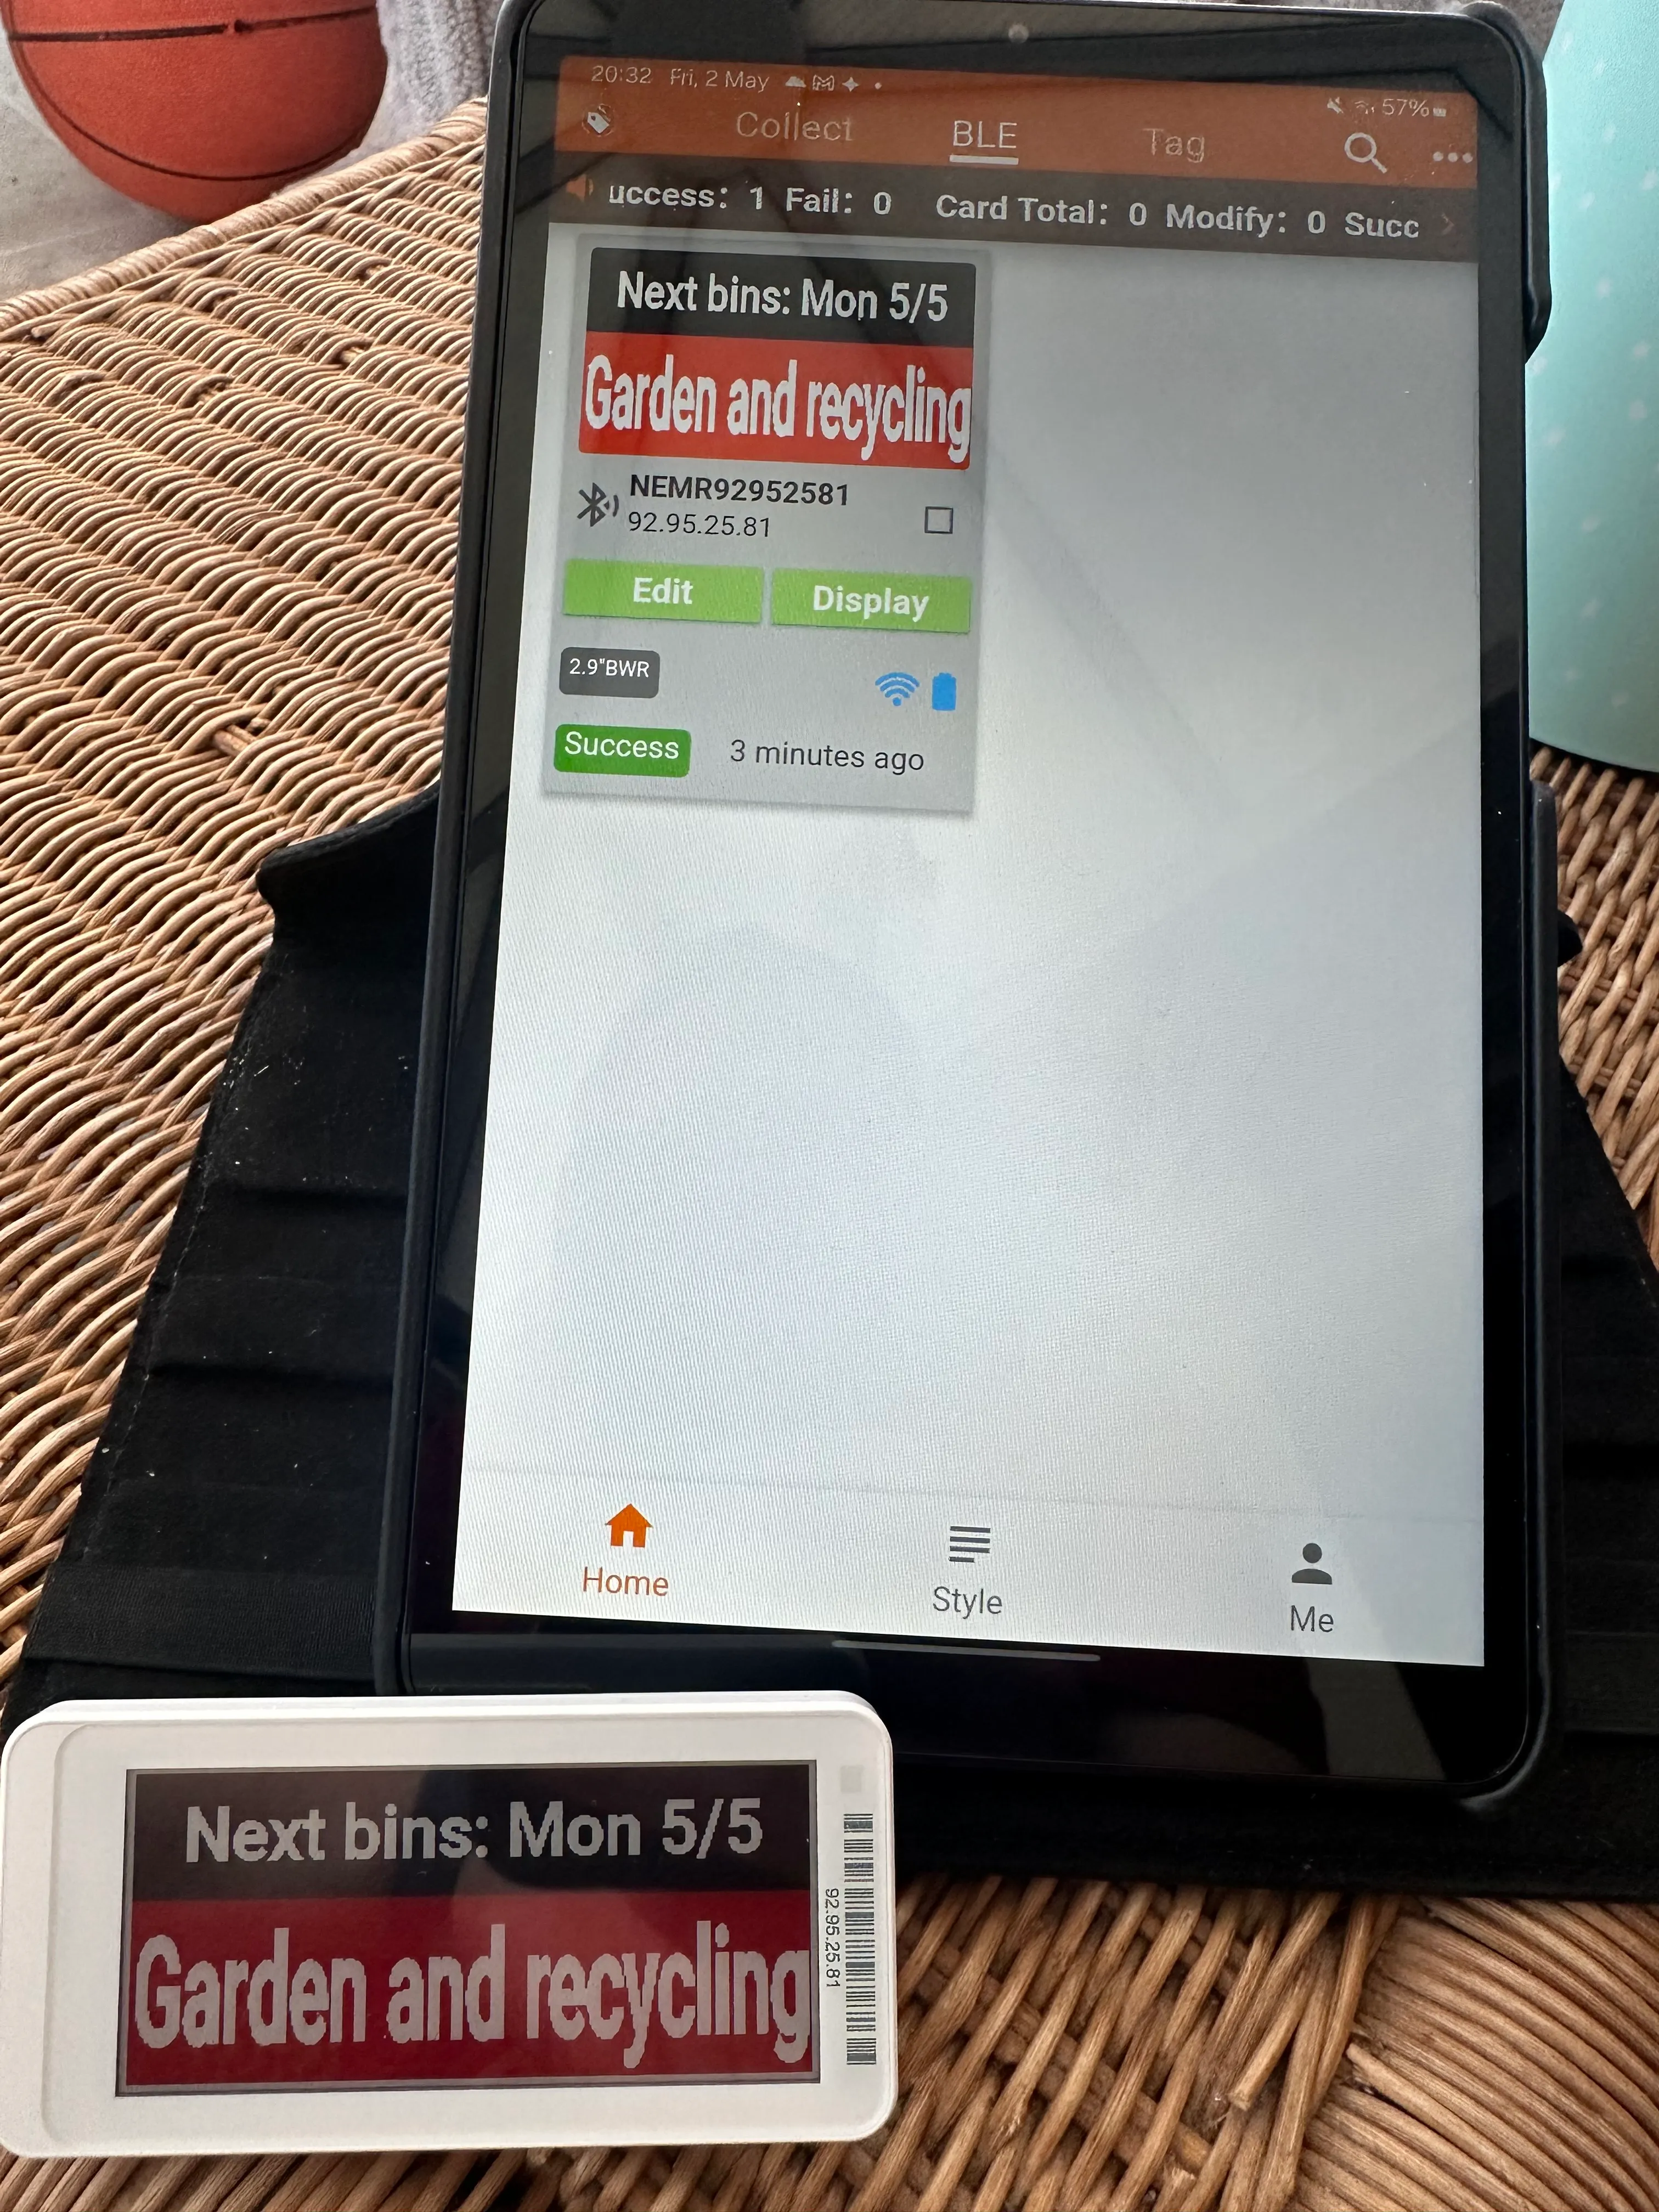
The software is a little clunky and unintuitive, but it’s possible to choose a template, add in some text, and send the result to the ESL via Bluetooth. So far, so good.
It appears that there’s a section on the app that allows users to share the online templates they’ve created, which explains why a user account was required.
Behind the magic curtain
Anyway. We now know that the ESL works as there is now successful communication between the app and the ESL. But how? What’s the protocol for doing so? Is there any encryption? To investigate further, I felt I needed to access the Bluetooth logs in Android, or use some sort of sniffer. This could be a fun hacky thing to do. Fortunately, as ever, someone was way ahead of me and had already identified the sequence of commands necessary to communicate with the device and deliver images in the correct format.
It turns out that the ESL I’ve purchased seems to be compatible with (if not identical to) products from Picksmart and GiCiSky. Indeed, visiting the Picksmart website seems to confirm this. Their website offers the two different types of ESL systems we have encountered so far: a radio-based system complete with Access Point similar to the system in my local shop; and a Bluetooth-only app-based version like the one I now own.
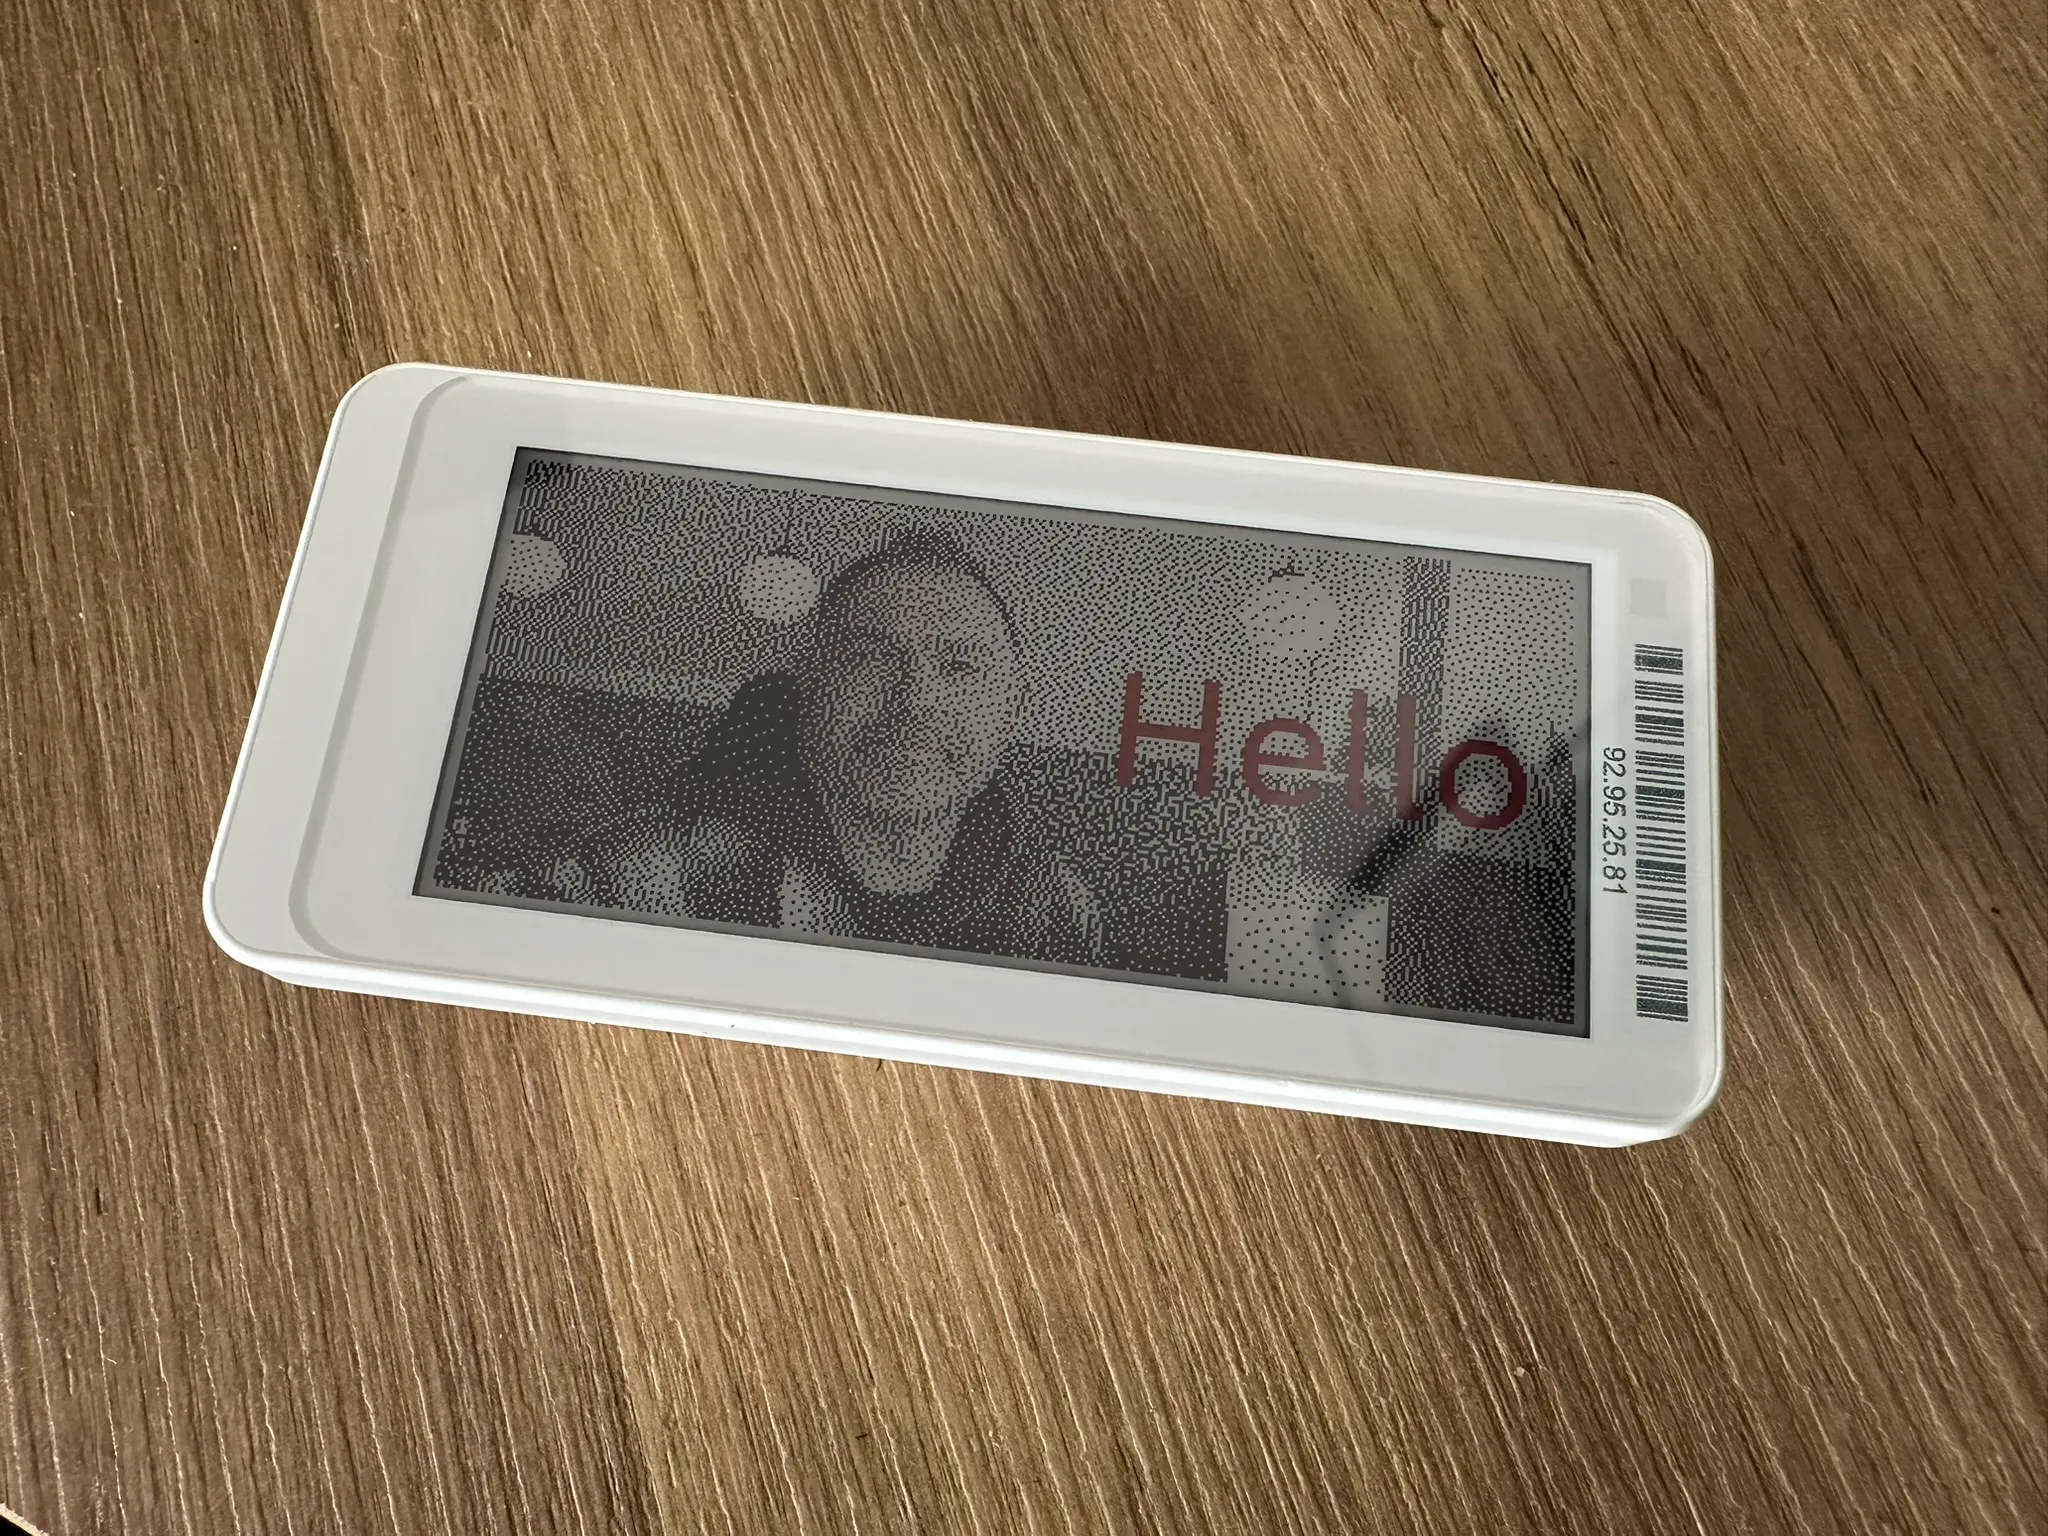
Some Googling later revealed that Aaron Christophel (atc1441 on GitHub) had created a tool to upload images to Bluetooth-only Picksmart ESLs. It’s a self contained web page that leverages the experimental Web Bluetooth API, which means it only works on Chrome-like browsers for now. It works brilliantly, even applying dithering to text and images for good results. But it also means I needn’t have downloaded that Android app after all. Never mind!
Is it possible to build on this excellent work and create a Node.js script that could run regularly and update my ESL with interesting content? It certainly looks promising. The first step, then, is to take this single, self-contained HTML page as a starting point and try and take it apart to determine how it works, We can pick out the actual code that handles communication and see if we can use that in a potential Node.js project.
In fact I’ve already done some refactoring and will share some of that code in a future post. But, as a little diversion, I couldn’t resist doing some more mucking about with the code. The result is at shelflabels.andrewgraham.dev. This is a small website, written in Astro and Svelte, which retains the functionality of the original but also sports a reactive UI and adds some new features such as the ability to rotate images and control the position, size and colour of text.
So, we have a plan! The next stage is to see what we can do in Node.js - can we send text and images to my ESL from a server? And then: what shall we display? I’ve often been caught out with bin collection days, so that’s what we’ll focus on. Are there APIs for this kind of information, or will we have to scrape the council website somehow? That’ll be fun to discover.
Anyway we’re just getting started. I feel this will be a long journey, so let’s move onward to Part 2!